Last summer Joe and I got a pair of lamps for free from a garage sale. They have been lighting up our living room ever since but they have been long overdue for a makeover. Now that we are moving and I have created a vision for our new living room (more to come on that!) Originally, I was going to buy new lamp shades and call it good, but I didn’t realize how pricey one lamp shade is, let alone two! So I went to the drawing boards (aka Pinterest) to learn what other crafty people have done.
Recover the current lamp shade. Could it really be that easy? Yes! 
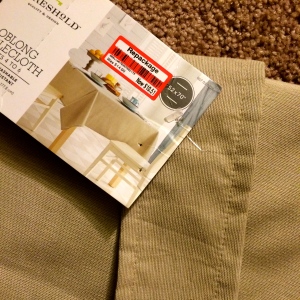
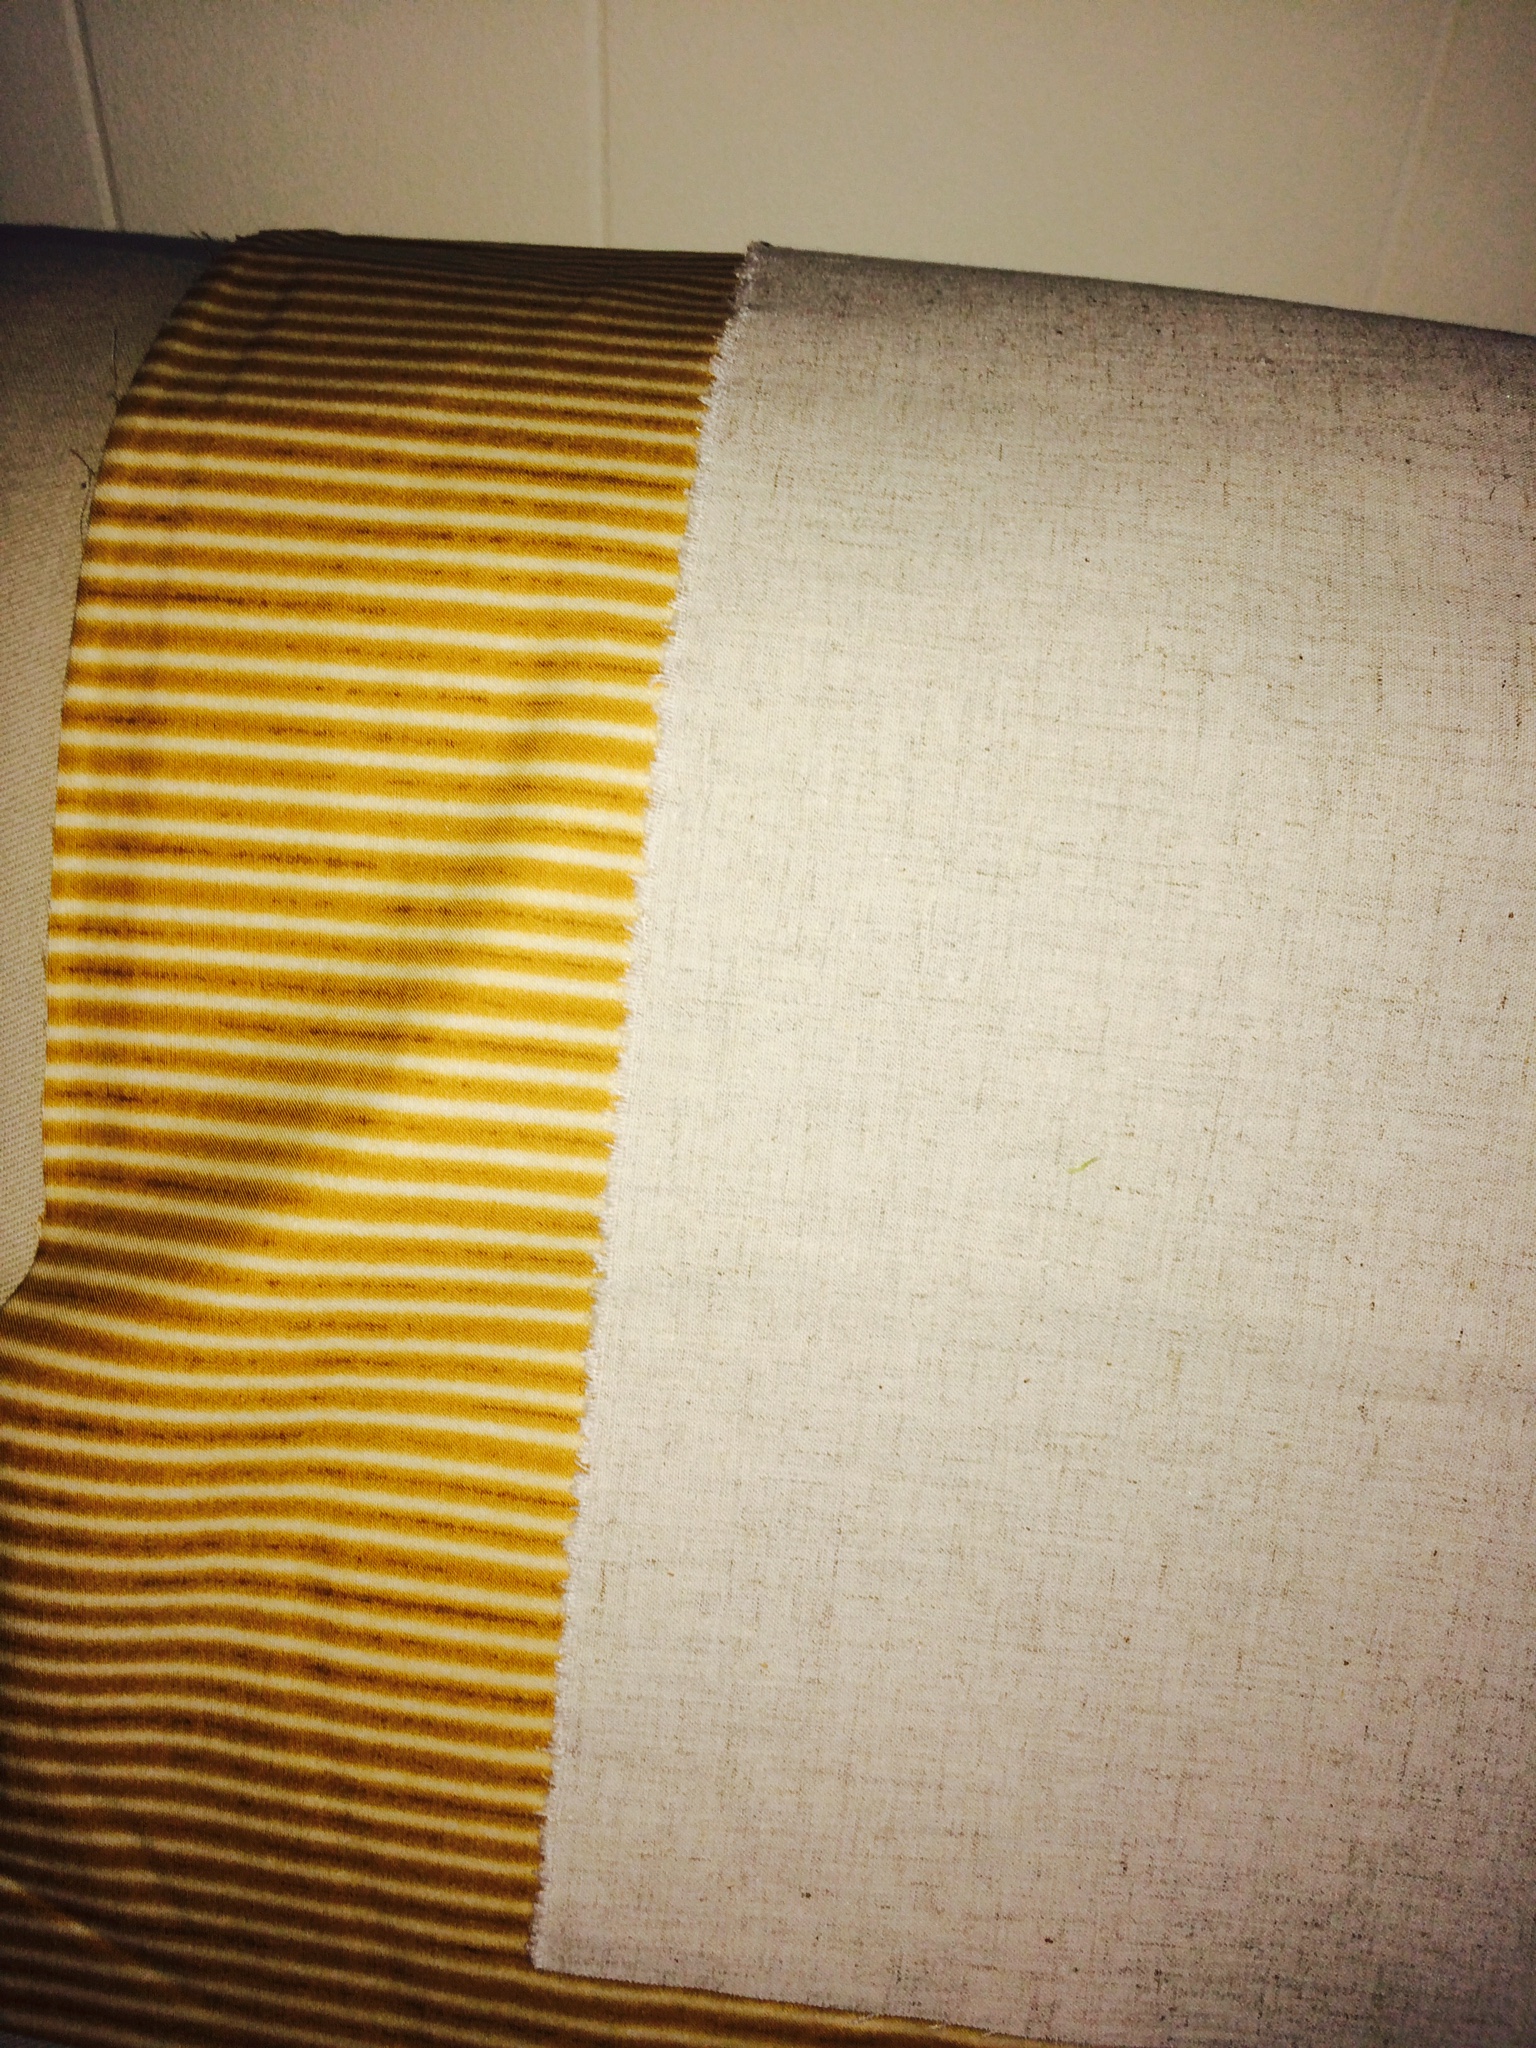
1. Find the fabric. Instead of buying fabric from the craft store, I found a table cloth (yes, a table cloth) on clearance at Target. It was enough fabric for both lamp shades and some extra for future projects I already have planned for the living room.
2. Size out the lamp shade. I used wrapping paper and literally traced the outline of the lamp. I used my wrapping paper pattern and cut out my fabric. Easy enough.
3. Add something attractive. Patterns are the way to go these days. If I was going to revamp these lamp shades, I wasn’t going to go from one solid color to the next. I stenciled a pattern to draw some attention to the lamps.
4. Sew one edge to have a nice clean line when you’re finished wrapping the fabric around the current lamp shade.
5. Iron the fabric to remove all those wrinkles and then spray the fabric with an adhesive to help the fabric stay in place on the lamp shade when you’re gluing the top and bottom.
6. Use fabric glue on the top hem and the bottom rims and pull the fabric tight over the lip. Use clothespins to secure the fabric until the glue is dry. Replace the lampshade for the revamped look!


Costs: 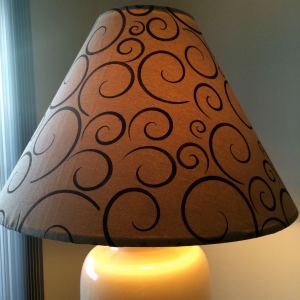
Fabric $10.51
Stencil $3.59
Stencil Bruch $0.99
Paint $0.50
Glue $4.89
Total: $20.48
The first step to the new and improved living room is complete with the revamped lamps! I couldn’t be more proud to display these lamps, knowing the money I saved and the time I put into them.
More to come on this living room makeover soon!
Inspired, Brenna


 Goodbye pleats and gold


 2 C Flour